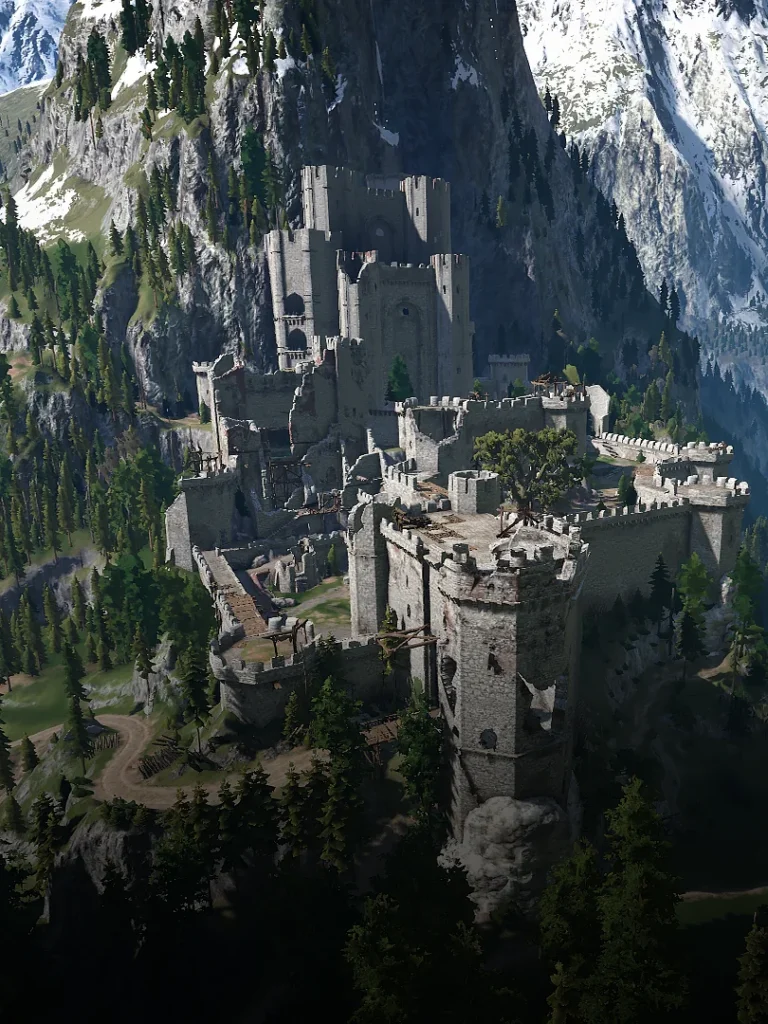
The Battle of Kaer Morhen

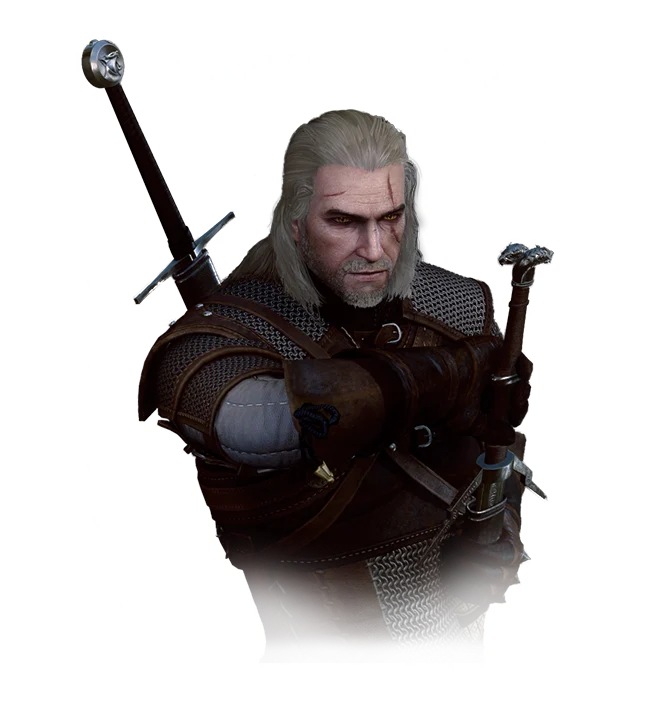
The Battle of Kaer Morhen is the climax of the middle act of The Witcher 3. With Ciri safe at last, the witchers and every ally Geralt could gather make their stand at Kaer Morhen against the Wild Hunt. Everything you did in the Brothers in Arms quests pays off here, and the battle ends with one of the most painful moments in the series.

How to start The Battle of Kaer Morhen

The quest starts right after The Isle of Mists, when Geralt and Ciri arrive at the keep. It is a level 24 quest worth 2,700 XP, plus 1,000 XP if you recruited every possible ally. Fast travel and calling Roach are disabled, so you can only move around the valley on foot.

Before the council

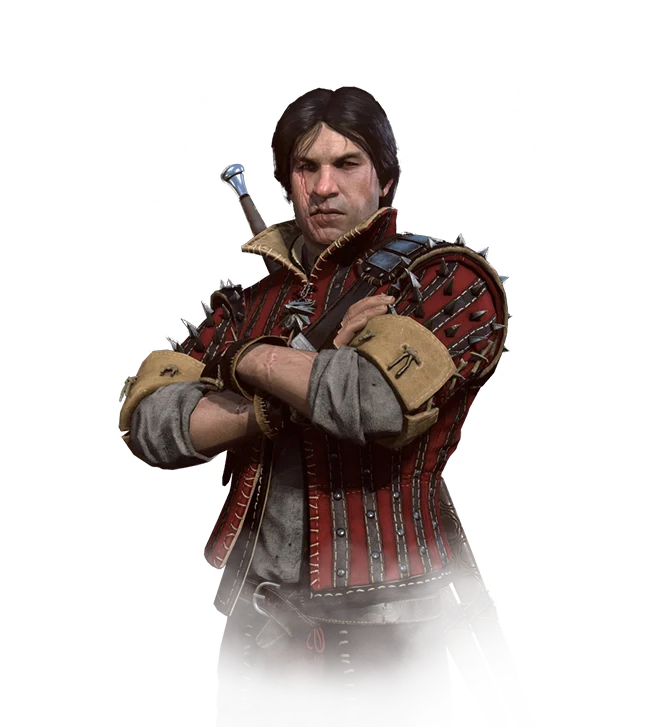
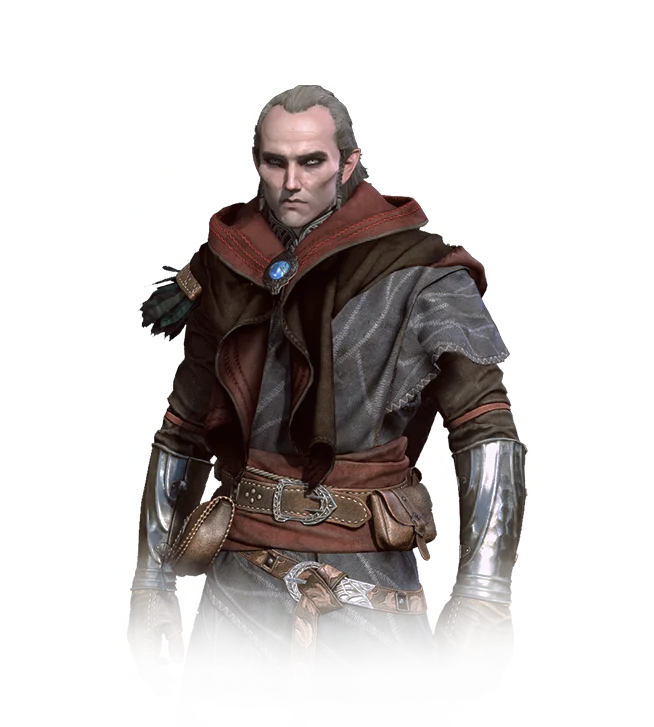
Walk through the keep and talk to everyone who came. Depending on your choices, that can include Hjalmar with Folan and Vigi, Zoltan (who works as an armorer), Ermion, Lambert, Eskel, Roche and Ves, Letho and Keira Metz, who also sells alchemy supplies. Try the Eye of Nehaleni on Keira’s dresser for a laugh.

The council: two choices

  • The laboratory: brew potions (you get Superior Swallow, Thunderbolt and a lesser Perun runestone) or set witcher traps in the courtyard.
  • The workshop: patch up the walls (fewer enemies come through Savolla’s breach) or clear the armory (you get the silver sword Rose of Shaerrawed, at a random level).

This is your last chance to prepare for a long chain of quests. Take repair kits and gear from your stash, buff your weapons and armor, and grab the White Gull from the barrels.

The battle

It begins in the woods with Lambert. Close three Wild Hunt portals with Yrden or dimeritium bombs. Walking into a portal and casting Yrden while still unseen is the easiest way. Then the battle shifts to the walls: as Ciri, help Triss on the battlements, using an amulet to guide her fireballs and Ciri’s new Charge attack. Back as Geralt, gallop to the keep, close the main gate, save Lambert if Keira is not there to do it, retreat from the White Frost, help Ciri and Eskel against Caranthir, and close the last portals in the courtyard.

The ending (spoilers)

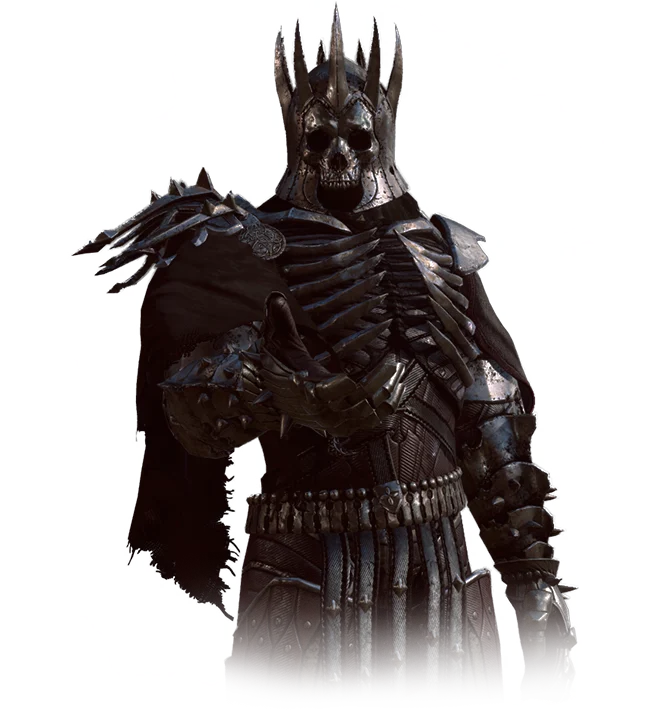
The Hunt breaks through and freezes almost everyone. Eredin tries to talk Ciri into giving up, and Vesemir gives his life attacking Imlerith to protect her. Ciri’s grief unleashes her power in a scream that tears through the Hunt and forces them to retreat, until Avallac’h calms her. The quest ends with Vesemir’s funeral pyre, where Ciri takes his wolf medallion and decides to stop running. The story continues in Blood on the Battlefield.

Tips

  • Lambert can die in the battle if Keira is not there and you do not reach him in time.
  • None of the enemies give XP, so there is no point farming them.
  • Berengar’s Blade fails once the council begins.
  • Patching the walls permanently closes Lambert’s favorite shortcut out of the fortress.
  • Talk to Ciri before using the grindstone and armorer’s table. Talking to her afterwards can remove the buff.

Walkthrough

  1. Talk to Vesemir, Yennefer and Triss, then optionally talk to every ally in the keep.
  2. Enter the main hall to begin the council. Choose potions or traps, and walls or armory (500 XP).
  3. Prepare: take gear from your stash, use the grindstone and armorer’s table, grab the White Gull.
  4. Leave the keep and join Lambert.
  5. Close the three portals in the woods with Yrden or dimeritium bombs and kill the warriors near each (200 XP + 500 XP).
  6. As Ciri, fight your way along the wall to Triss and kill the enemies around her.
  7. As Geralt, ride back to the keep and close the main gate (climb the wall to the lever, ignite Ermion’s gas if he is there).
  8. Save Lambert if Keira is not there to do it.
  9. Retreat to the middle courtyard ahead of the White Frost (500 XP) and help Triss.
  10. As Ciri, help Eskel against Caranthir’s warriors and open the gate to the inner courtyard with the wheel.
  11. As Geralt, close the two portals in the courtyard (pick up extra dimeritium bombs from Vesemir’s supplies if needed).
  12. Help Triss by the gate to the inner courtyard and watch the ending (1,000 XP).

Quest Consequences & Choices

Recruiting every ally gives 1,000 XP and more help in the battle. The council choices decide between potions or traps and between fewer enemies or the Rose of Shaerrawed sword. Lambert can die if Keira is absent and you do not save him. Vesemir always dies. Berengar’s Blade fails when the council starts. Patching the walls closes Lambert’s shortcut for good.

Involved characters

Involved monsters

Locations

Quest rewards

The Battle of Kaer Morhen
Quest Type:
XP: 2,700 XP (plus 1,000 XP for recruiting all allies)
Gold: None
Loot: Superior Swallow, Thunderbolt and a lesser Perun runestone (potions choice) or Rose of Shaerrawed (armory choice)
Location:
SHARE THIS PAGE

Keep exploring

Interactive Tools

Plan a Remastered build: skill trees, mutagens, gear and a shareable build image.

Pick a potion, decoction or bomb and see every ingredient you need.

Answer the key choices and find out which Witcher 3 ending you will get.

Every location, quest and monster in the first region on one map.

The Wolf School's hidden valley: the keep, the Bastion, caves and treasure.

Tick off every school gear diagram and crafted piece, with diagram locations.

Search any monster and see the right oil, Signs and bombs.

weapons

Steel for humans, silver for monsters. Explore the craftsmanship, ancient runes, and legendary blades forged to survive the path.

monster

From bloodthirsty vampires in the shadows of Toussaint to ancient leshens guarding primeval forests. Study their weaknesses before the hunt.

characters

Witchers, sorceresses, kings, and bards. Uncover the complex histories, alliances, and fates of those who shape the Continent.

armor

Grandmaster gear from the schools of the Wolf, Cat, and Bear. Discover the protection and hidden powers of legendary witcher armor.