The Witcher 3: Wild Hunt Complete Edition (PS5)
The full game plus Hearts of Stone and Blood and Wine on one disc, and it includes the free Remastered upgrade. Still the best 200 hours a monster slayer can buy.
Find it on Amazon
Tesham Mutna is what remains of an old fortress in southern Toussaint, south of Francollarts. It is tied to one of the darkest chapters of the duchy’s history: according to legend, vampires who settled here after the Conjunction of the Spheres used the fortress to keep humans as a living blood supply.
The most notorious of them was Khagmar, a vampire so bloodthirsty that he was said to drain whole villages in a single night. When the locals began hiring witchers and mages to deal with the problem, the other vampires sealed Khagmar in a cage beneath the fortress, where he spent some two hundred years slowly going mad within reach of the scent of the humans kept nearby. The fortress was eventually abandoned, but the cage survived, and in Blood and Wine it gets used again.
Tesham Mutna is the setting of two main quests in Blood and Wine. In La Cage au Fou, Regis needs the blood of an agitated elder vampire to brew a potion that can read Dettlaff‘s memories, and the only elder vampire at hand is himself. He opens a hidden door into the ruins, has Geralt lock him in Khagmar’s cage and lay scavenger baits in the tunnels, then lets the scent of blood and the hordes of ghouls, rotfiends and scurvers drive him into a frenzy. A fleder and a katakan join the fight before Geralt can take his sample.
Later the ruins host the showdown that gives the quest Tesham Mutna its name. Dettlaff has demanded that Syanna meet him here, and how the meeting goes depends on Geralt’s earlier choices:
The fight against Dettlaff’s vampire form has three stages, ending with a phase where Geralt must destroy three pulsing hearts while blood clones attack him. Defeating Dettlaff also counts as a proof of valor for There Can Be Only One.
The full game plus Hearts of Stone and Blood and Wine on one disc, and it includes the free Remastered upgrade. Still the best 200 hours a monster slayer can buy.
Find it on Amazon
The music of Velen, Novigrad and Skellige on vinyl. Put it on and you'll be humming "Lady of the Woods" for weeks.
View on AmazonAs an Amazon Associate we earn from qualifying purchases.
Plan a Remastered build: skill trees, mutagens, gear and a shareable build image.
Pick a potion, decoction or bomb and see every ingredient you need.
Answer the key choices and find out which Witcher 3 ending you will get.
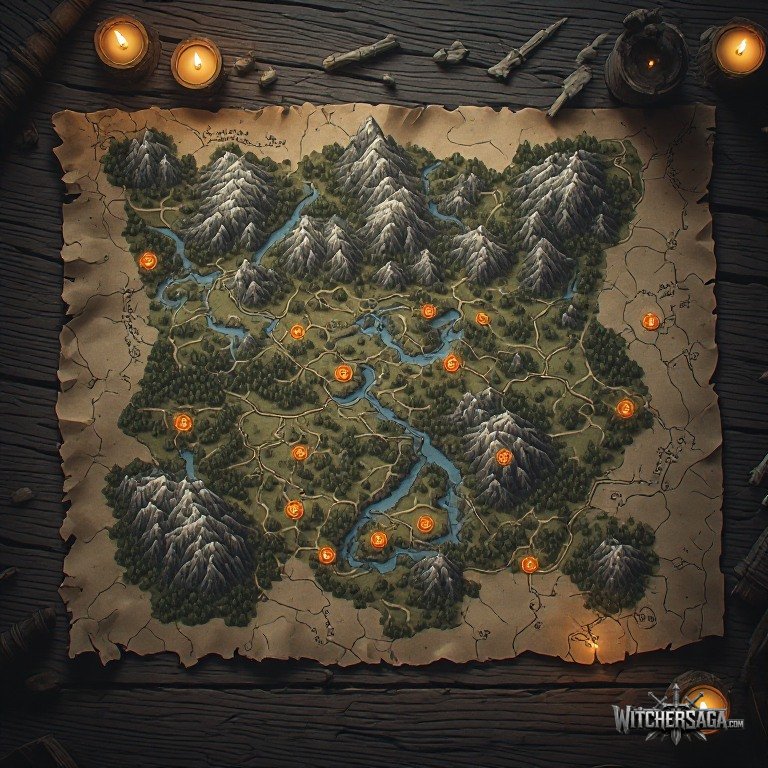
Every location, quest and monster in the first region on one map.
The Wolf School's hidden valley: the keep, the Bastion, caves and treasure.
Tick off every school gear diagram and crafted piece, with diagram locations.
Search any monster and see the right oil, Signs and bombs.